So, I made this taro roll for Christmas Eve dessert. Quite honestly I got the idea because my mom absolutely adores taro (me too… but not as much as her). Loves it and will eat it in any dish. The roll turned out very good actually. The cake was soft and light and the taro filling was rich and 90% taro. The only issue is, unlike store bought taro cakes, my cake did not taste like taro. I believe this is because bakeries use taro powder, which I'm not inclined to buy and cannot find a way to make at home. But it is still a very good cake. So try and make it! Even if you've never had taro… It's quite tasty!
I got the following recipe from this website, who translated it from Carol's blog. I will repost the website because I find the translation could use a bit of clarification and I adjusted a few steps here and there. Also, there is a typo that affects an ingredient recipe in the translation.
Taro Swiss Roll
Taro filling:
500g taro
80g sugar
30g unsalted butter
20g heavy cream (I actually splashed in a bit more to help make the consistency of the filling smoother and more spreadable)
a pinch of salt
Cake:
5 large yolks
30g sugar
40g liquid oil (I just used plain ol' vegetable oil)
100g mashed taro
90g cake flour (sifted, VERY IMPORTANT even if you're lazy like I am because this prevents lumps)
25g milk (doesn't matter non-fat or whole)
pinch of salt
5 large egg whites
5mL lemon juice (approximately 1 tsp.)
60g sugar
Filling:
- Peel the taro and cut into 1 inch squares (600g total).
- Steam the taros for about 25 minutes or until cooked and easily break off (next time I'm trying something else… for some reason my taro had hard bits in it even though I steamed it until it easily broke off; maybe boiling or roasting the taro).
- Mash the cooked taro, setting aside 100g for the cake.
- Add the rest of the filling ingredients to the 500g portion of taro and mix well.
- Set both portions of taro aside and let cool.
Cake:
- Beat egg yolks and sugar together with a whisk until pale yellow.
- Add the liquid oil in several additions until completely incorporated.
- Add the mashed taro and salt and mix well.
- Add half of cake flour and half of milk, mixing very lightly. Once incorporated, add the other half of flour and milk, and mix well.
- In a separate bowl, whisk the egg whites until you see big bubbles, then add in lemon juice and half of the sugar.
- Continue to whisk for about a minute, then add the rest of sugar. Whisk until the whipped egg whites form stiff peaks.
- Take 1/3 of whisked egg white and mix well into the yolk mixture (this will lighten the yolk mixture first).
- Incorporate half of the remaining egg white into the main batter by gently folding the egg white in with a spatula to prevent loss of volume. Once fully incorporate, repeat with the last third of egg white.
- Line your jelly roll pan (I used a 40cm x 28.5cm roasting pan) with parchment paper and pour the batter on it (to help prevent air bubbles, gently bang the pan on a flat surface a few times after smoothing the surface evenly).
- Bake for 12-15 minutes.
- peel off the parchment paper on the side and let cool for about 3-5 minutes until it's touchable, but still warm.
- On the side with the filling, draw lines with a knife perpendicular to the way you are planning to roll, but don't go all the way as to cut off the cake.
- To further help prevent the cake from cracking when you roll it, let it cool the rest of the way pre-rolled. Do this by placing parchment paper on both flat sides of the cake and using a tea towel to roll the cake in place of filling.
- When the cake is fully cooled, unroll and spread an even layer of the taro filling.
- Roll up the cake up again and refrigerate it for 2-3 hours before serving.
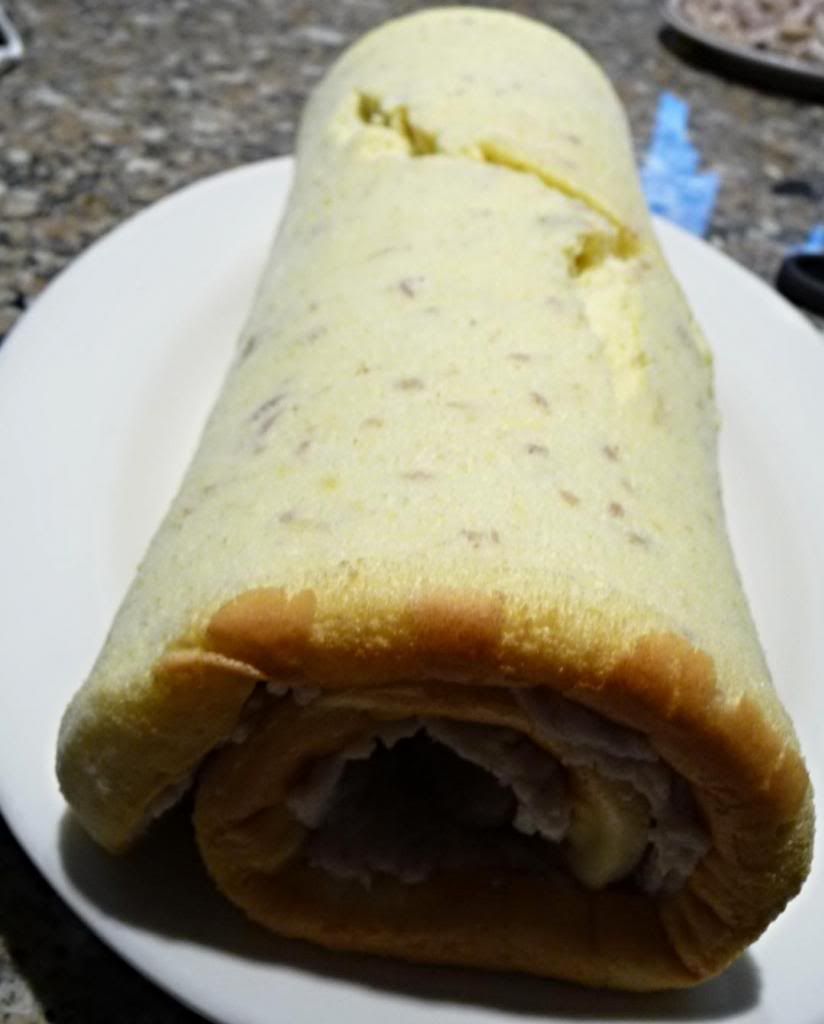
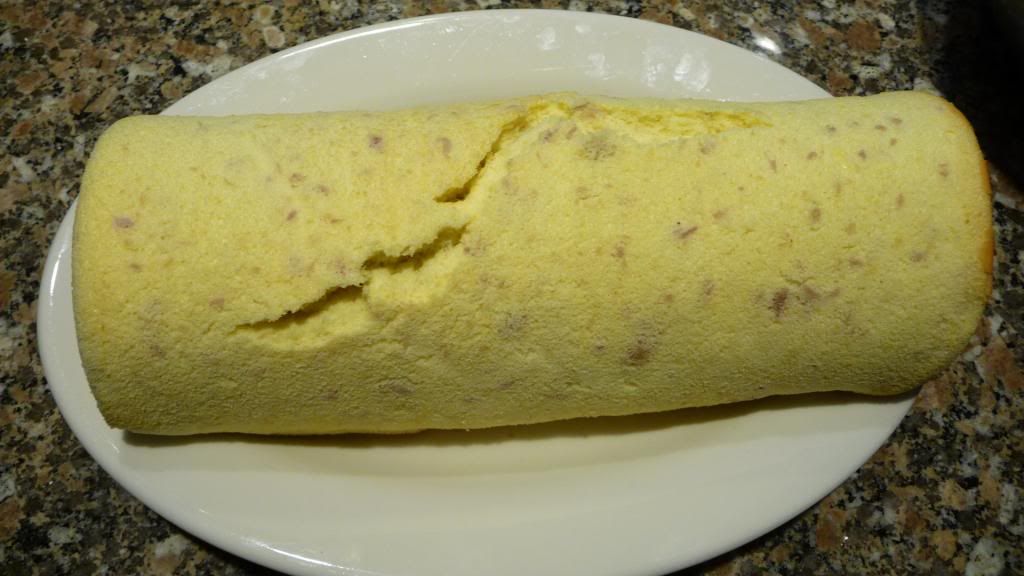
This is my cake, all rolled up!
As you can see, my cake cracked when I rolled it since I didn't do the pre-rolling step… :(
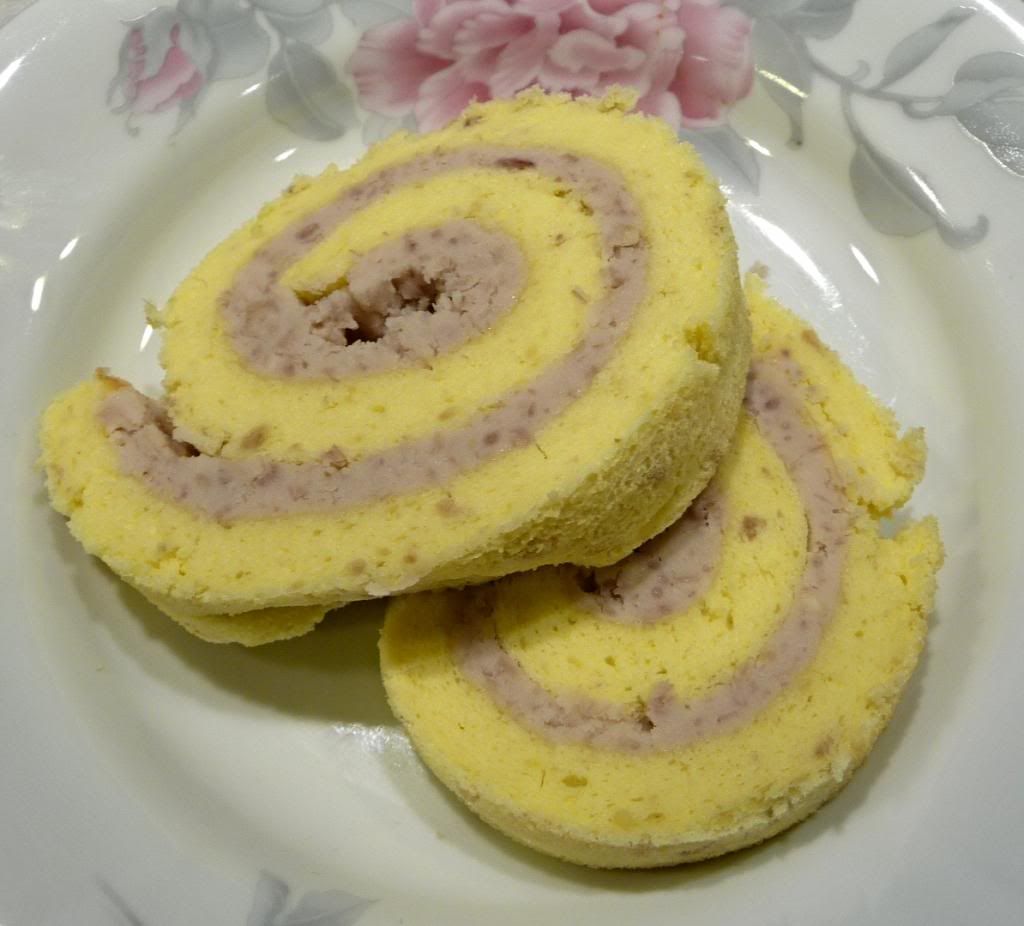
And the inside view… Right before we ate all the cake! There's a nice thick layer of taro, and that's what really makes the cake.
So I will try to post the cake I did for New Year's Eve either tomorrow or the day after, depending on how busy I am.
Until then,
Mishya